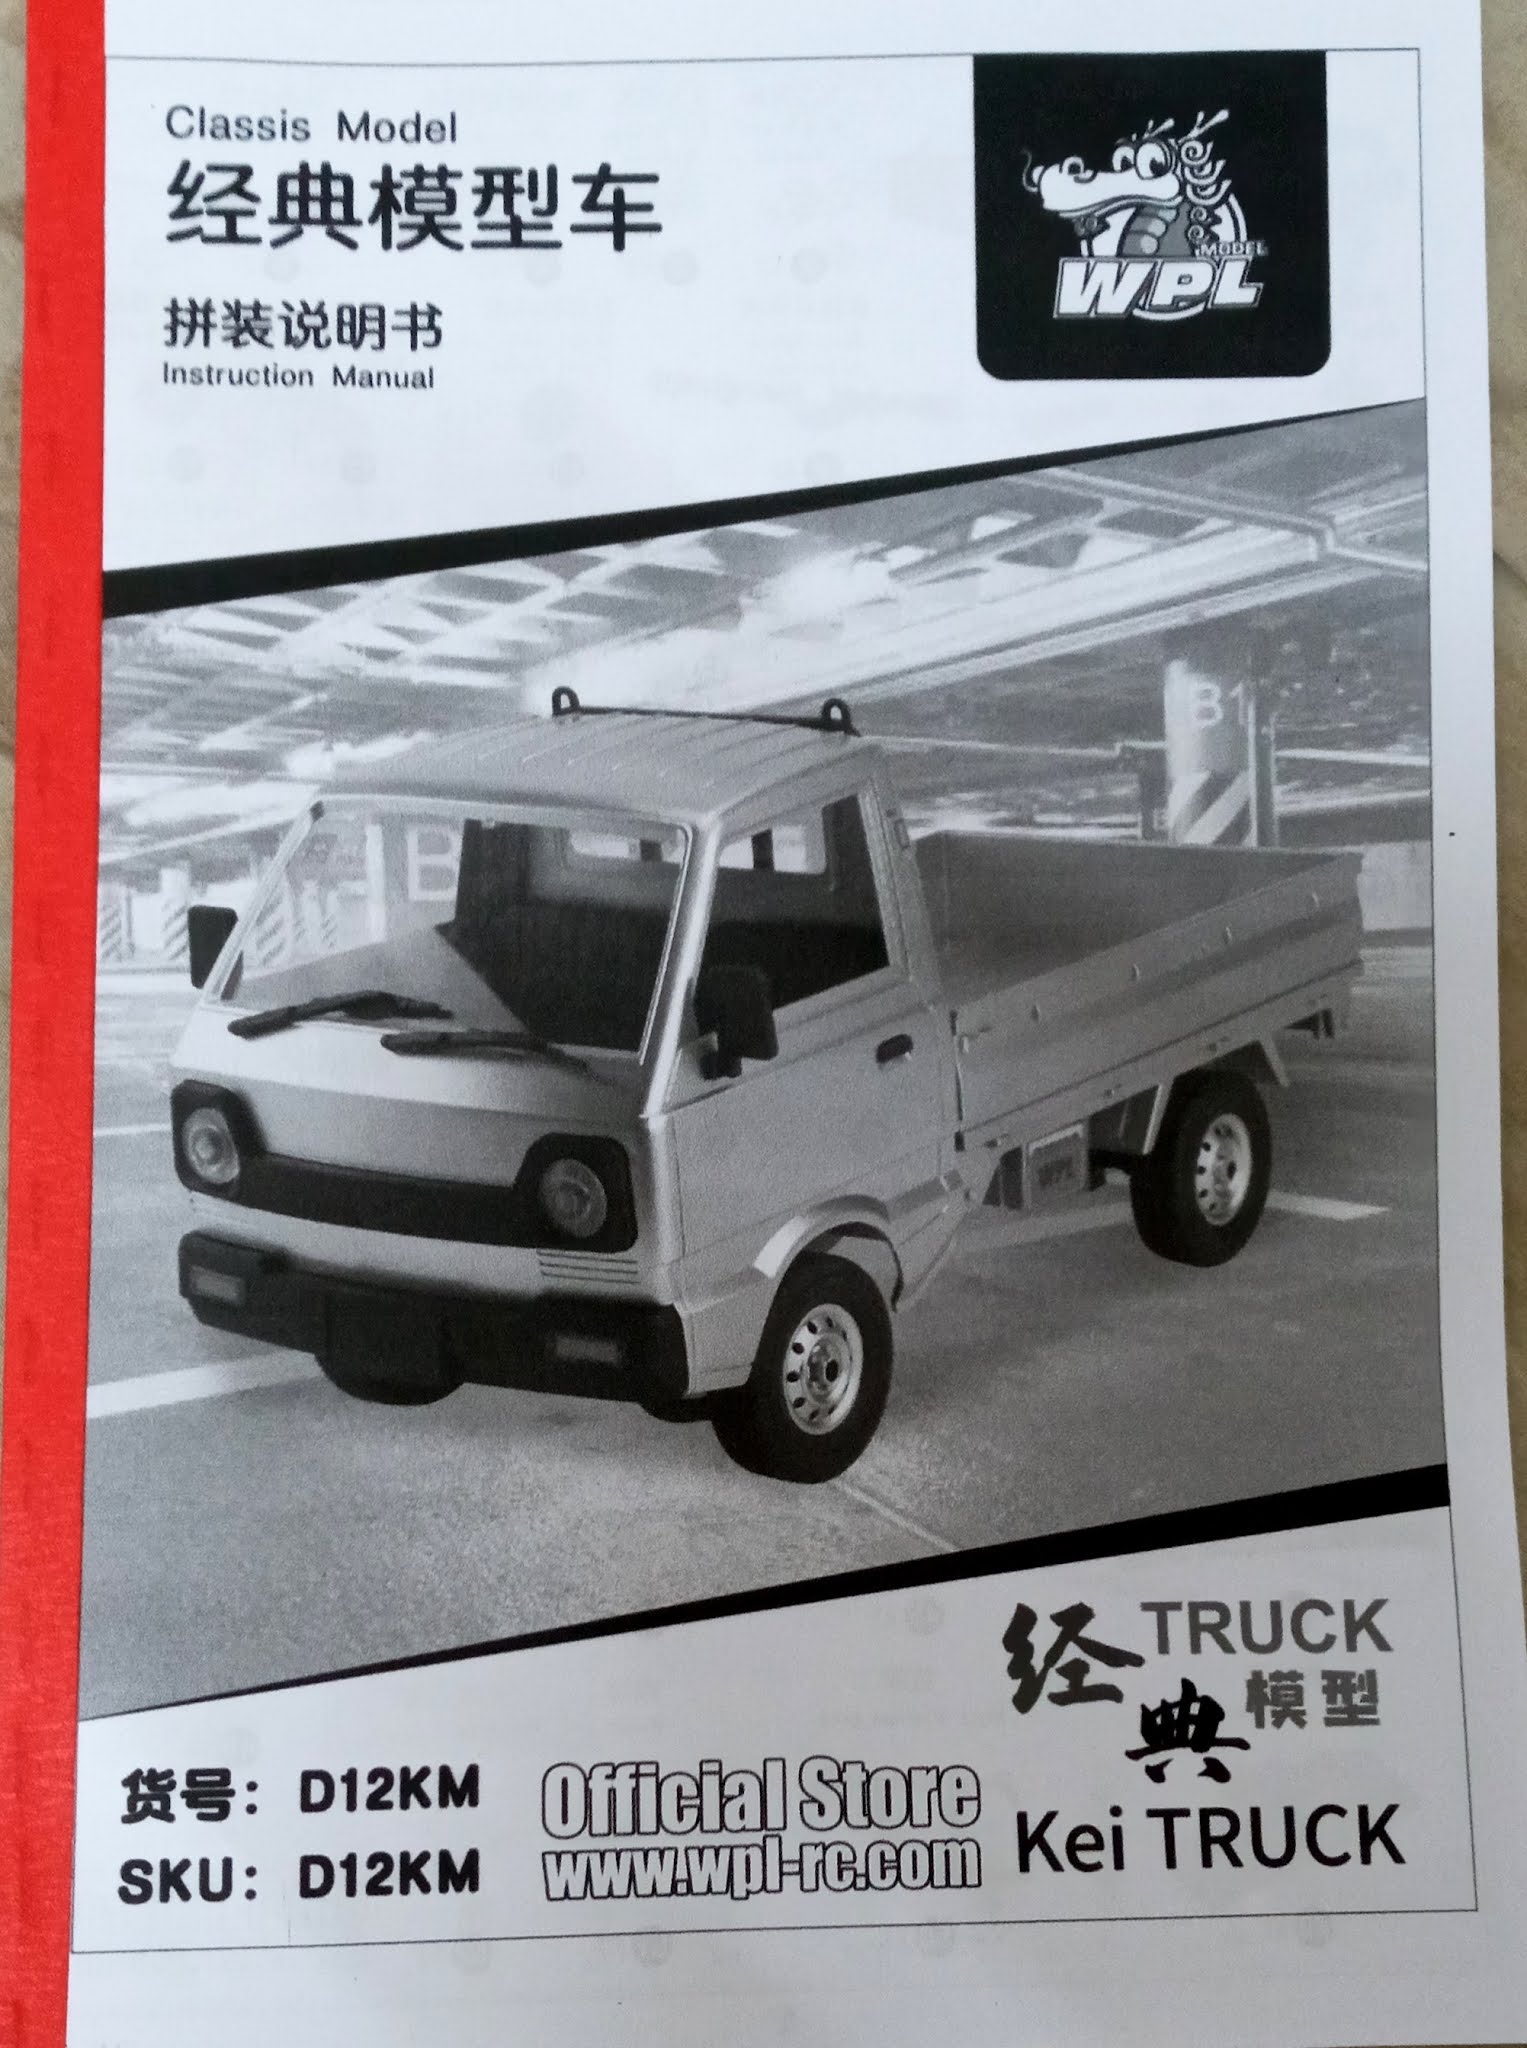
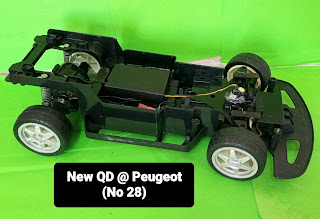
Another new units buy cheap only RM130 on 8/9/2021. After long shop shut down covid 19, on 4/9/2021 all shop reopen. This my 36 units RC. It say 1/10 scale RC, new category D chassis from WPL Company. Is a 2021 model WPL D12 Model Kei Truck @ Suzuki Carry ST30 Truck. Made in china. In 2020 this truck become famous, all rc fans say nice for drifting. Many option parts can buy from shoopie. I see many rc guy from Indonesia change to driff or 4x4 truck event from Europe they give tump up cheap and many option parts, event can modified.
I take silver colour. Buy at S2 toys shop seremban. Look like this new product is in good quality and well packing. The tape to seal the box with their WPL logo. This is second new face lift Truck. The first face 2020 the battery cover is different snap in, new turn spare wheel to lock or open, no cross bar on rear chassis and side mirror different shape.
Start blogger = 8/9/2021.
Update blog = 4/2/2026
Sum for spareparts = Rm240.85
2021 - 2026 = 5 Years
Made in China (🇨🇳)
Future
1. 2.4 GHZ
2. Rear wheel drive
3. Left/right/back/front maneuvers
4. With head light,
5. Independent front suspension
6. Adjustable camber
7. Adjustable toe
8. 2 Ball bearing each side front drive shaft
9. Large steering angle
10. Rear with Leaf spring
11. Metal gear rear axle
12. Adjustable center Drive shaft
13. With rubber spare tyre that can be use not dummy.
14. 7.4v 500mah li-ion battery.
15. Can get spare parts from Shoopee
16. Have upgrade parts.
17. Remote with setting turn angle full / less lock.
18. Remote with setting hight / low speed
19. Motor 260
20. Speed 20kmh
21. Battery 25minit use (Full charge 2 hour usb cabel given )
22. Remote distance 40 meter.
The Box
WPL tape, good quality packing
Open up the box
 |
| Another hard plastic cover |
 |
| With body sticker |
 |
| With small parts |
 |
| Instructions sheet, no assembly manual |
Found the assembly manual, down load and photocopy and binding. This the first D12 model.
 |
| Parts list |
 |
| Assembly parts |
The Remote Control
 |
| 2 AA battery |
 |
S rate for full wheel turn or less and T rate for hight or low speed. When remote turn off the s and t rate back to normal every time on need setting
|
The units
 |
| Front suspension |
 |
| Can be adjust |
 |
| Adjustable turn buckle |
 |
| On/off switch |
 |
| Nice dummy engine and transmission under view |
 |
| Rear suspension with leaf spring |
 |
| Plastic Proppeler shaft |
 |
| With a Spare tyre not a dummy. |
 |
| 7.4v 500mah li-ion battery |
 |
| This battery made year 15/5/2020. So this units is from year 2020 new face |
 |
| The plastic chassis frame |
 |
| Thin rubber tyre wrap aroud the plastic rim |
 |
| With head lamp, will make a switch for all the lamp, if on all day the current will drain away. |
 |
| Internal cockpit |
 |
| Simple internal no stickers |
 |
| Strange steering, meter no colour |
 |
| Rear cargo cabin, can add some accessory |
 |
| The lamp can add led |
 |
| Dummy wiper |
 |
| Cargo cabin |
 |
| Wire for head lamp, i remove |
 |
| The ESC, steering servo and motor |
 |
| Steering servo with WPL logo |
 |
| ESC can use other brand, need DIY a space, extra 3 pin for plug for lighting. |
 |
| Motor 270 brush very small |
 |
| Front suspension can change to aluminium alloy parts |
 |
| With 2 small ballbearing |
 |
| The drive shaft can change aluminium alloy |
 |
| Using bushing at center shaft |
 |
| Rear axle gear with full greese |
 |
| Adjustable propeller shaft can change to aluminium alloy |
 |
| Rear leaf spring can add shock absober, wheel carrier plastick need to change to alloy |
 |
| Plastic eazy break |
 |
| Spare tyre can be use |
 |
| The gear box all plastic gear, option can change to metal gear. Full greese |
 |
| Open the transmission cover, under is the steering servo arm |
 |
| The steering knuckle can change to metal know is plastic |
 |
| Trim parts |
 |
| Spare parts |
 |
| Charging adaptor |
 |
| Trim parts |
After fix the sticker and trim parts l
Next what i will change if buy cheap parts.
1. Off road tyre (Done)
2. Transmission gear change to metal (Done)
3. Change rear axle housing to aluminium alloy (Done)
4. Change front suspension set to aluminium alloy.
5. All the wheel drive gear change to aluminium alloy. (Done)
6. shock absorber rear (Done)
7. Add option trim parts (Done)
8. Add suzuki sticker (Done)
9. Rear center shaft to aluminium alloy. (Done)
10. Motor to bigger range 270. (Done)
11. Shock absorber front. (Done)
12. Rear leaf spring. (Done)
13. Aluminium alloy motor housing.
14. Aluminium alloy Chassis
15. Signal Lighting. (Done)
16. All plastic bushing to bearing. (Done)
17. All wheels mud flat. (Done)
18. Aluminium servo horn. (Done)
19. Metal servo push arm. (Done)
Some of the option parts, will slowly change. If i buy most option parts it will course me Rm200++. Even it can change to 4x4, spend another Rm600++ to buy the 4x4 parts. Below some of the option parts.
If have money enought to spend on this
 |
| The small coper bushing i change position to bottom, big one to top so the spring have a big grip. |
 |
| Ori position loose |
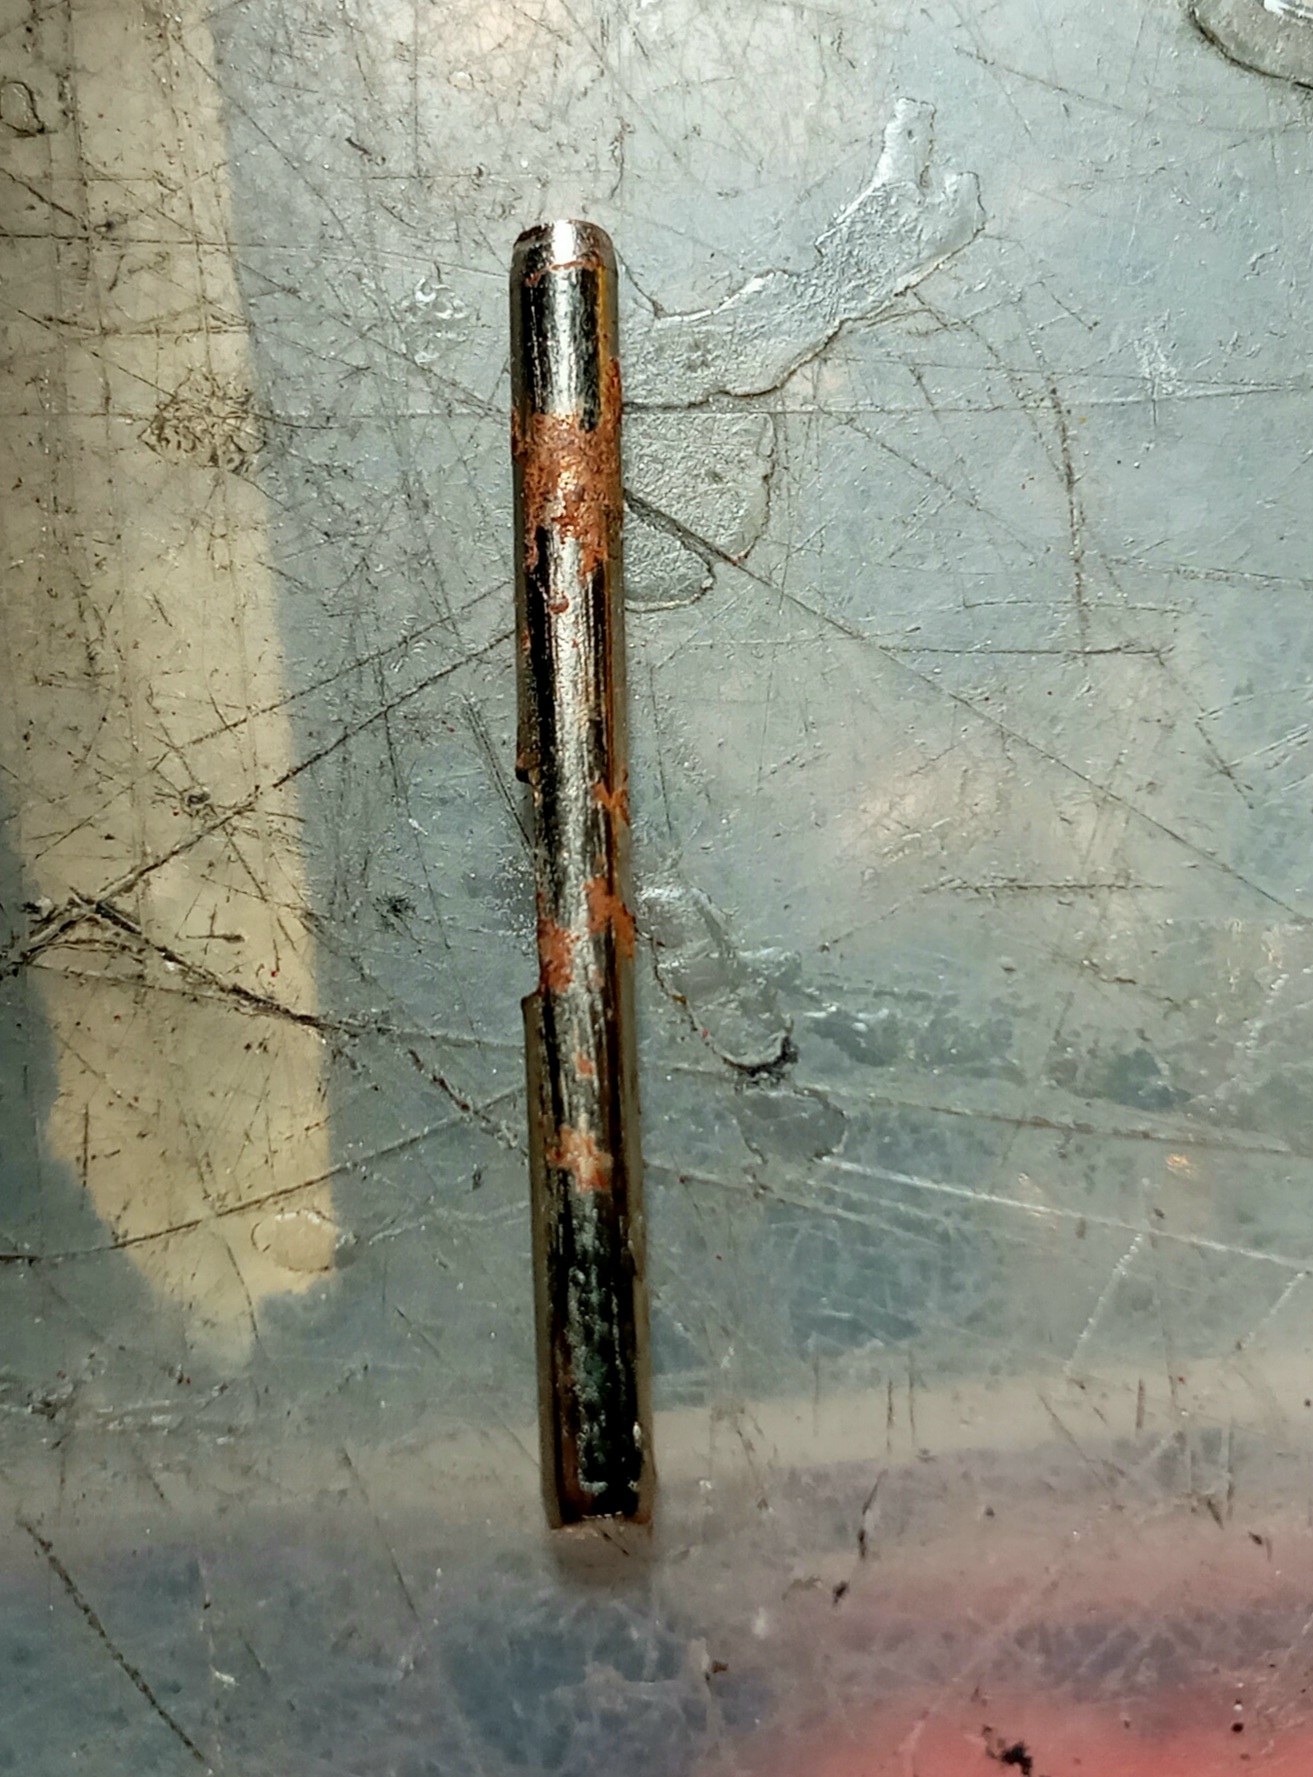
Readjust the front suspension camber, white o ring that ori at front, i move it to back so the bottom steering knuckle sits more proppely. Just remove the pin and move the white o ring to back. Both suspension pin rusty, remove and add greese.
 |
| Ori position the White o spacer at front and the wheel hub bottom not at center. |
 |
| The white o ring i move to rear. |
 |
| Rusty pin |
 |
| After readjust |
Second modification is the head light, ori led is yellow, i change to a brighter led.
 |
| Ori led not bright, yellow |
 |
| Using different led more brighter |

 |
| More brighter |
Next is do some painting on the truck. All windows frame black, front grill chrome, front bumper chrome, wiper silver and rear cabbin stoper black.
Add a additional switch on/off at lhs passenger for head lamp. When main switch on the head lamp all the way on, so additional swith turn off on day light. It will not consume power.
 |
| Spray Crome colour |
 |
| Addition switch location to on/off all the lighting that will fix in. |
 |
| After paint rework |
11/9/2021 there a extra lighting connector 4 pin, it for lightig system, brake and signal. I have the socket and pin also small colour wire. DIY my own no need to buy the set rm18.
 |
| A bundle with many colour small wire |
 |
| I cut out 4 colour and solder to terminal pin. |
 |
| Done, know buy led red and yellow and test it out. |
 |
| If didn't have this connector can solder on the top terminal, can't remove anymore |
11/9/2021 buy some led normal yellow signal and red stop rm0.20 a pcs. special blue is for under carrage the dark units 1 led rm0.50
Do the rear stop light and signal light, no blinking light. I use 2 wire and 2 red and 2 yellow led. Led red/yellow solder together ++ , - -. The wire will put along the cabin floor to front 4 pin light connector. At one end wire led is solder and another led at center wire according the car light length.
 |
| The led size same as the light cover |
 |
| Insert togather |
 |
| No blinking signal light |
Wire will be glue nicely, not like ori wire hanging around and too many wire.0
 |
| Wire glue to cabbin frame |
 |
| Nice routine not messy if use the ori wire |
 |
| All rear lighting fix, blue led only rear under carrage, will adjust time to time |
Night view
 |
| The head light super bright |
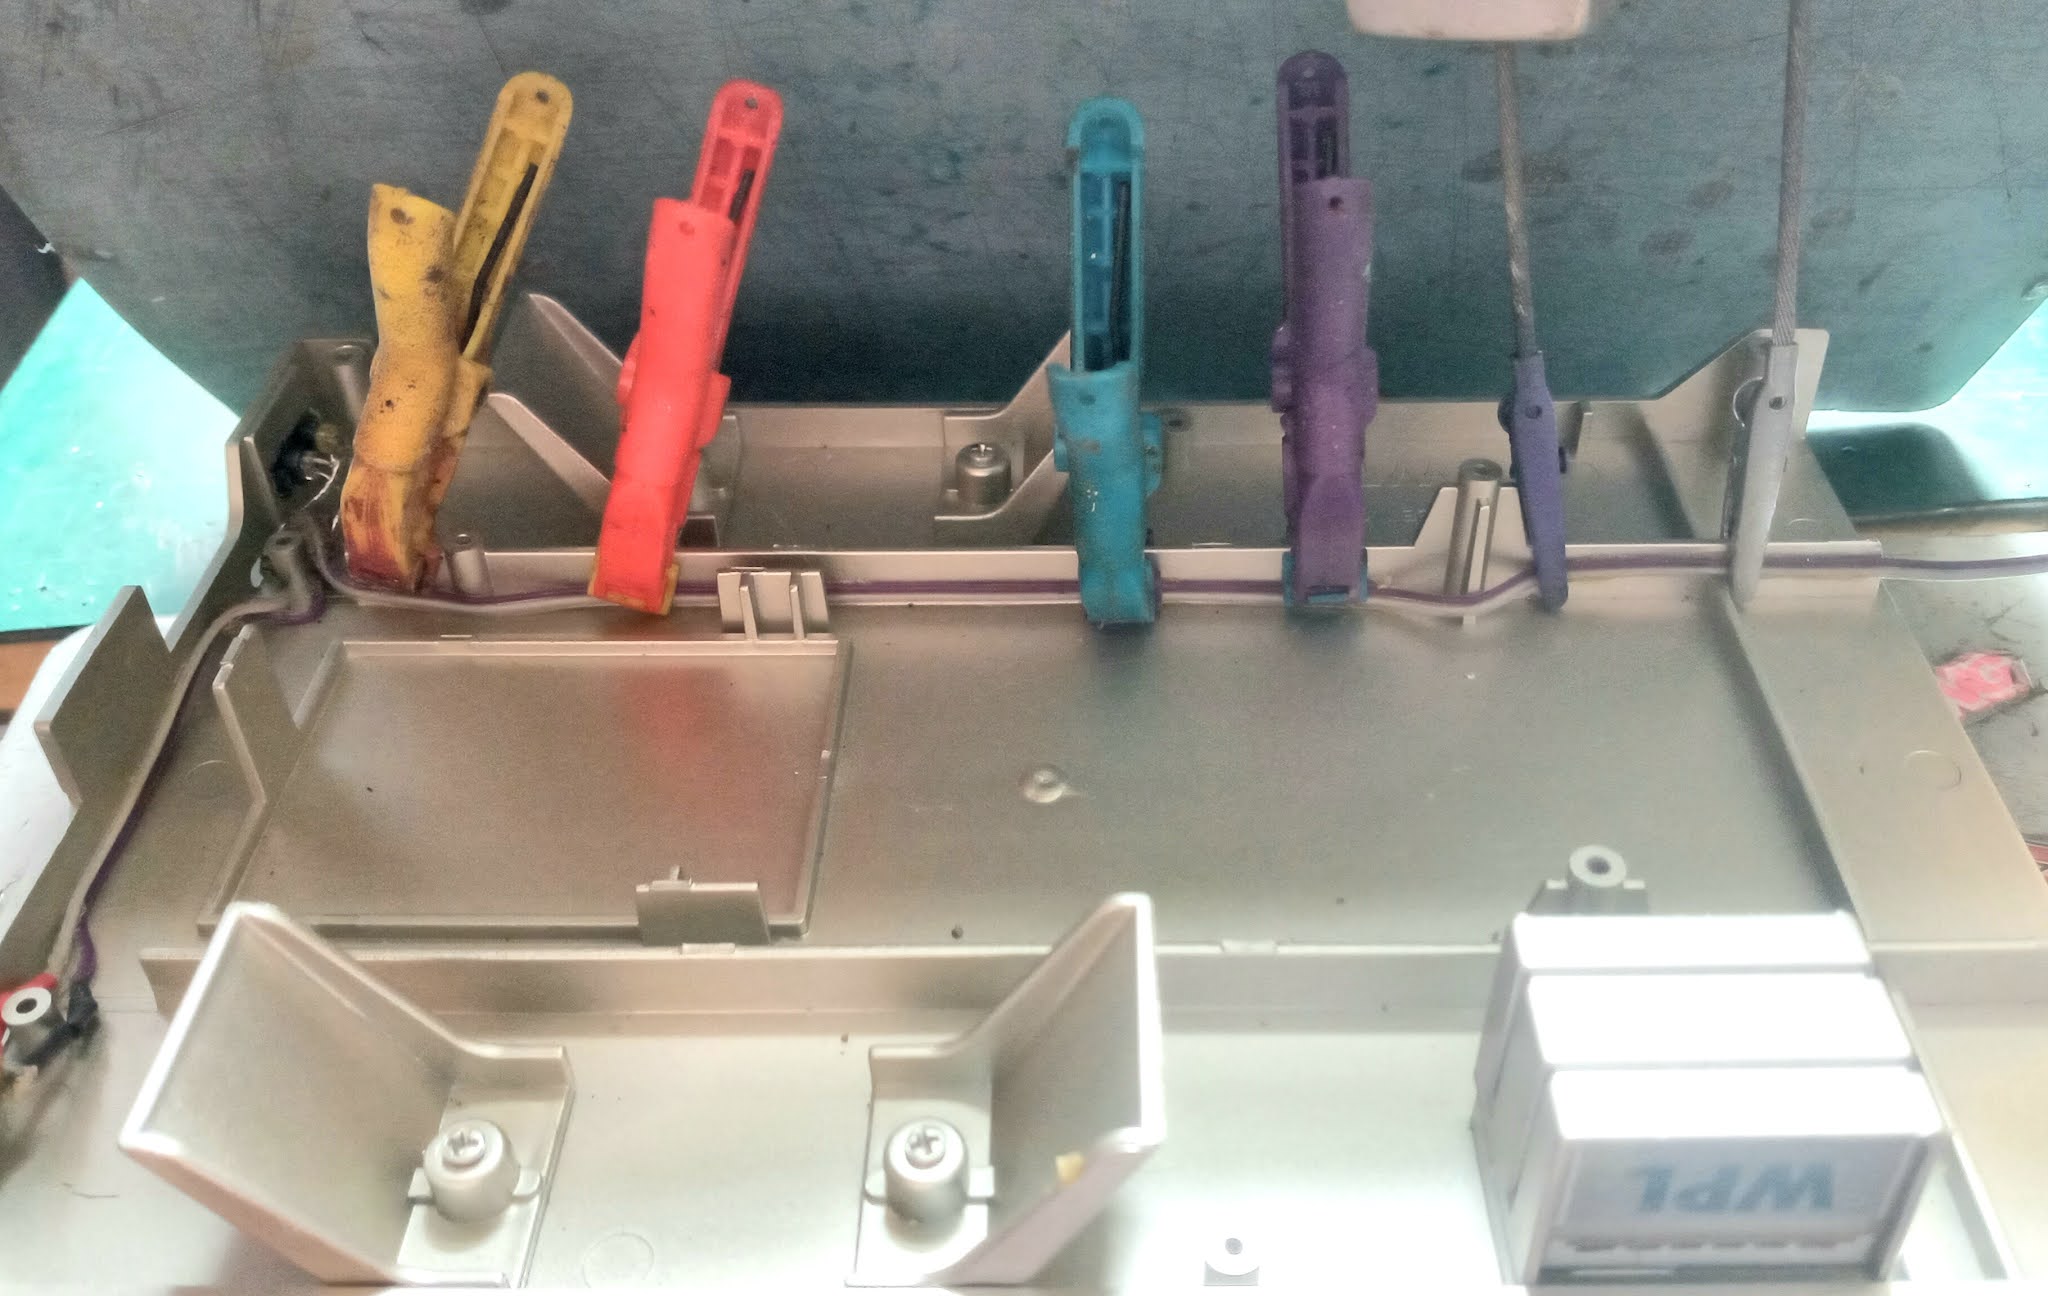
Second is lighting at cockpit, 4 signal light. Same way 2 wire, led in pareller. All the lighting system with a in/off swith. Day light driving all off. This switch not for head light.
 |
| Signal yellow front bumper |
 |
| B piller yellow led. There no cover for wire. The New D42 van have cover. |
 |
| All the cockpit cabin lighting is connected with a joint head that can be remove. Eazy if cockpit cabin want to remove. |
 |
| This on/off switch for all the led bulbs. Location near dummy battery box. Off all the light during day driving. |
 |
| The led on/off switch |
 |
| The wire joint. Can be remove, just plug out the 2 terminal on esc. |
 |
| Front bumper signal light |
 |
| B piller signel light |
With all the lighting On, no need to buy the set of D12 lighting. All DIY.
Next remove all the chassis parts, want to spray the chassis into black colour and engine/transmission under silver.
 |
| Dismantle and learn the parts |
 |
| All black only the engine/transmission silver |
 |
| Internal cockpit suger can colour |
 |
| Parts fitted in look more nicer then black colour, i spray suger can colour and some grey on dashboard parts |
 |
| Window frame black colour |
 |
| Chassis black all parts fitted |
 |
| Under carrage, engine and transmission under spray silver. |
 |
| All in |
Next DIY will add 4 pcs sport light with yellow led. Add a cargo box at back for the sport light and switch. If i modified more electrical parts i will put inside the cargo box
 |
| Buy for rm2 |
 |
| If modified other equipment like giro, battery i can put inside. |
 |
| Back view |
 |
| Screw both end |
Done for the sport light. I joint pareral. Just add a JST connector and switch. Put inside the box. Don't want to drain current from the truck battery.
 |
| Screw on the frame and internal paint crome |
 |
| Buy different led a pcs Rm4.50 yellow |
 |
| Add a jst connector eazy remove the rear cabin and a switch just for sport light |
All the lighting on
24/9/2021 found 2 item 1/10 gear knob and a steering. It match this truck.
 |
| More spotty look and a gear knob |
25/9/2021 add 3 more sports parts, 2 Bucket seat, hand brake lever and a nitros tank. The seat can be removed for next time respray red colour. Original seat i cut off the siting pcs and flaten it down so the buckit seat is in same lavel with original position.
 |
| Cut the original seat and buckit seat fit nicely in. |
After all accessory in
28/9/2021, DIY 4 pcs mud flat, using big shrinkble tube, cut into size needed and end cut triangle shape then buy white decal to decorated it. Glue the mud flat on wheel arch.
 |
| Buying the big size |
 |
| Cut into size needed and staple together to cut triangle shape . |
 |
| All 4 pcs later will stick decal S. |
 |
| Test up on wheel arch |
 |
| Rear |
 |
| Front |
1/10/2021 got few parts from China
1. Rear Axle Shaft = Rm5.99
2. Front Axle Shaft = Rm5.99.
3. Front axle shaft bearing = Rm5.50
4. Transmission metal gear = Rm10.88
5. Rear center metal drive shaft = Rm5.88
Wait until price drop then buy.
Rear Wheels drive shaft, there 4 pcs bearing not change yet size 3x6x3 mm.
Front wheel shaft, ori bearing given but i buy 4 pcs extra.
The transmission gear, ori plastic know metal.
 |
| Add more greese |
Rear center metal axle drive shaft, it heavy and solid.
 |
| Lhs metal it heavy. |
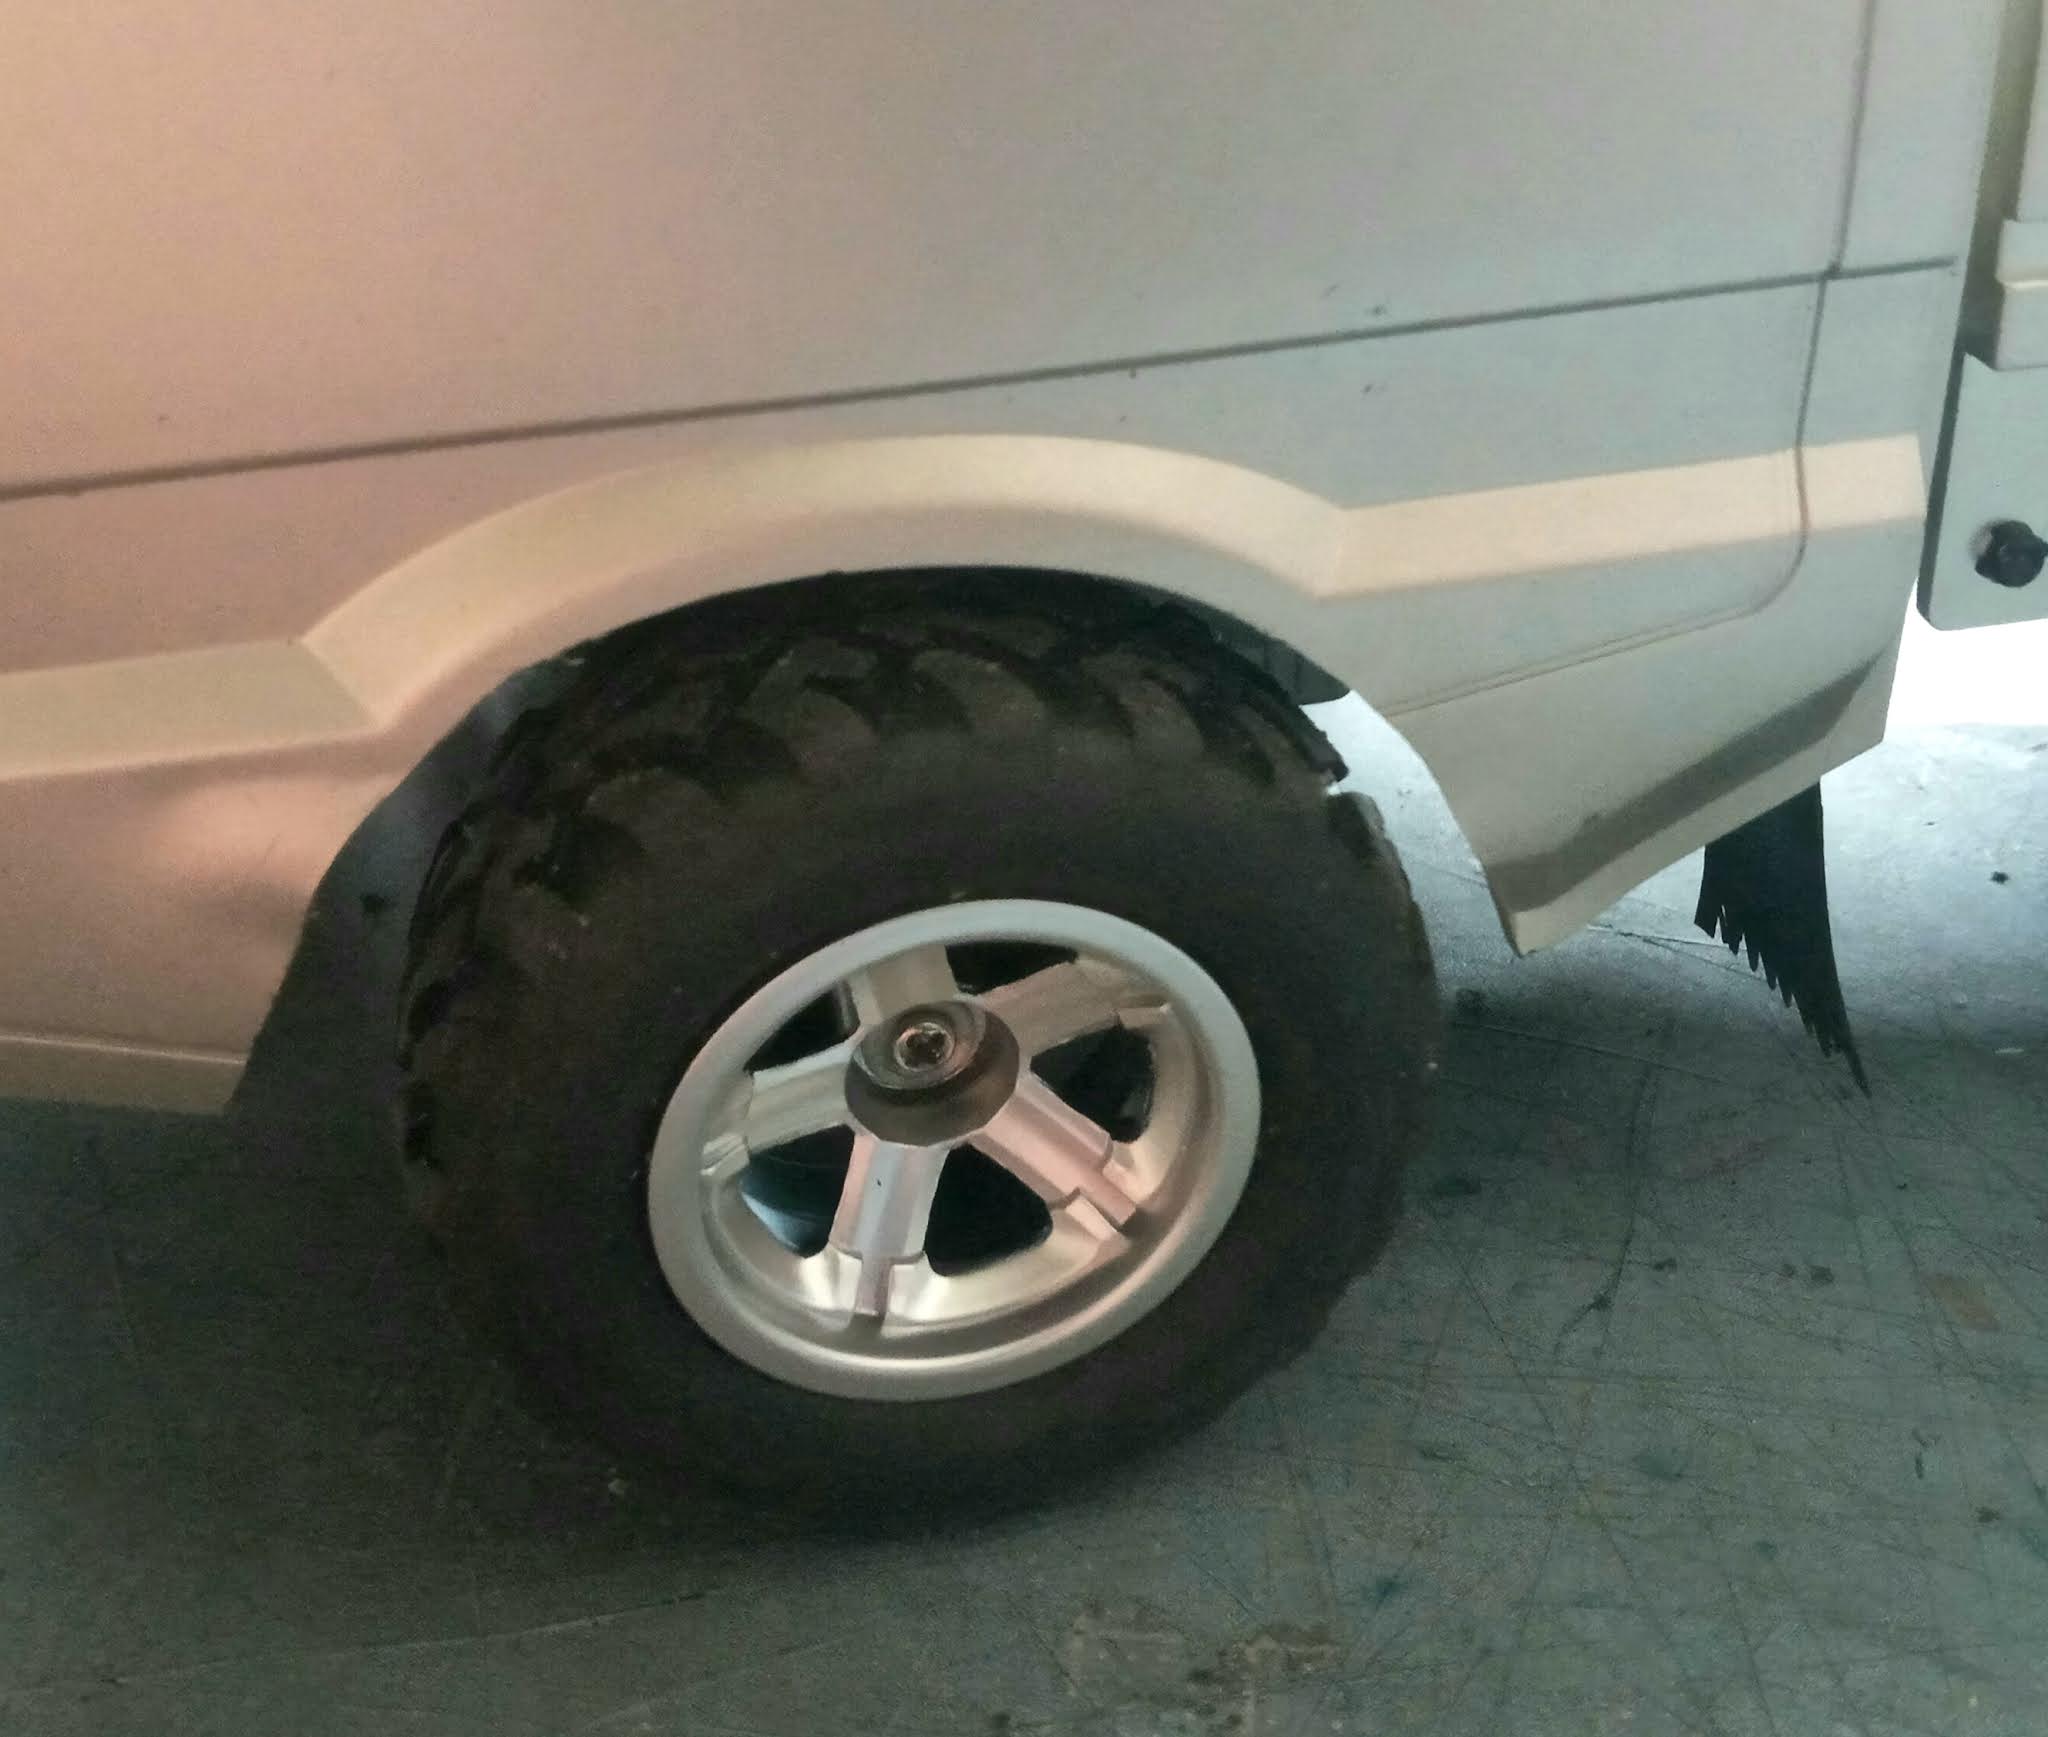
2/10/2021 the sport wheel got it Rm14.85 + Post. It for dirt tyre. No insert in the tyre must DIY using sponge. Rear have no problem but front touching body when turning, i cut wider the wheel arch and widen the body using touch.
 |
| Insert sponge |
 |
| New tyre wider and taller. |
Front wheels touching fender
Rear no problem
After widen and cut the fender done, wheel turn freely but with load it will touch.

 |
| Fender more wider the bump over heated |
 |
| Look sporty |
3/10/2021 i change the servo horn to aluminium. More stronger.
4/10/2021 fix rear shockabsober Rm15.19 from china. After fix the rear body tilt to side when conering become laser.
5/10/2021, Fix a 350 motor, original 260, a normal motor not a high speed. Only Rm1, 350 3.5v. Later will buy the WLP high speed motor.
 |
| Top is 260 motor, just fitted nicely |
To have more fun the original wheels i put double at back axle. Some real small truck with 2 wheel each side. After fixing still can move.
 |
| In between at center i add a nut so there a space |
DIY plate numbers front and rear simple yellow plate and number
Same to the batttery.
 |
| Koyama car battery from Japan |
29/10/2021 got the aluminium rear axle set with blearing Rm28.97 and a high speed motor 370 Rm10.99. The rear axle more heavy the motor more power then the original.
 |
| 370 high speed motor |
19/12/2021, Rm28.80 change the rear metal leaf spring and bracket.
Next buy front shock absober for Rm14.50. This set i just tighten on the upper and lower arm. Given a bracket tighten on the body and bottom shock absorber on bottom arm. If i want to remove the body i must unscrew the shock absorber. I Make it simple, it work, only when arm going fully upward.
 |
| This bracket tighten on body not using. |
29/11/2021 change the steering block from plastic to aluminium alloy. Buy for Rm6.65.
Buy 4 pcs shock absorber brackets for front to make it 4x4 later projeck.
17/12/2023 buy cheap front metal suspention arm set rm26.25
Next Other option parts soon.
Enjoy RC


Comments