Another 2021 projeck, rebuild a old Tamiya 1/12 lunchbox 58063, Is from year 1995. In the 1995 Tamiya catalogue, this units still in it. 1996 to 2005 never show this Lunch Box. So i assume this units from 1994 or 1995 or older. Some times shop keep for long time old stock. This my 32 units RC car own. Buy from a saler in seremban for RM180 on 1/2/2021, without electrical parts because i don't want all the old system that using a 1997 am Sanwa remote and servo, a mechanic ESC need a servo to move the arm and also many faulty parts, it sale for Rm250 beginning.
My next challenge to repair or modified. Not going to run it just to keep as collection. This units no yellow body Dodge van, i will buy a 1/12 body, Land Rover 90 or jeep Cherokee. Some parts damage i will modified. Will use my extra ESC and am receiver. Happy to get another repair projeck. This my no 4 units of 1/12 scale. For this units is a vintage because rerelease parts is different no made in japan chop on parts. The vintage colection is from 1987 to 1995.
The first design using chassis CW-01 Mitsubishi chassis 58063 lunchbox. Then 1987 first model is Lunch Box 58347, but 58063 body still sale in 1995. In 2005 Rerelease this new lunchbox with new ESC. In 2005 a limited black Edition TAM58546, all body is in black. other limited edition 2011 like gold 49459, 2013 Black Edition 57849, 2019 red editions 57402 . Tamiya lunchbox is a collection item in RC world
The fault i found in this Lunch Box units
1. All tyre can't use 2 pcs front become crispy and rear two can be save. Too long storage rubber become dry up and harden.
2. All turning parts using copper bushing or pĺastick bushing. No ballbearing.
3. Battery stoper rhs missing
4. Battery holder screw tread break.
5. Bumper tighten screw missing 1 pcs broken body .
6. Chassis plastick eazy break.
7. Dirty with dust
8. Drive gear greese dry.
9. Front shock absorber 2 pcs bottom mounting damage
10. Front bumper respray black colour
11. Front bumper with extra plastick bar cable tied
12. Motor carbon brush wire break no shoulder just twist the wire.
13. Motor basic type no ballbearing.
14. Motor pinion gear worn off sharp edge
15. Missing a cover rear axle lhs.
16. No electrical component, remote, ESC, Servo and receiver
17. No body.
18. No assembly manual
19. Rear axle mounted lhs/rhs broken crispy body .
20. Rear axle return spring housing damage lhs/rhs
21. Rear axle housing bottom heavy scratch.
22. Rear rhs wheel crack reglue
23. Rear lhs/rhs metal plate for shock stay missing.
24. Steering servo horn damage.
25. Screw missing 4pcs under chassis
cover
26. Steering servo wrong tighten location on a modified bar.
27. Wheels un event paint red/white need to remove.
28. Willy bar missing a screw
Start bloog = 2/2/2021
Last up date bloog = 4/2/2026
Sums for spareparts = Rm143.10
1995 - 2026 = 31 Years
Made in Japan (🇯🇵)
 |
| My Lunchbox after makeover image |
 |
| The first lunchbox designs from 1980 58063 CW-01 chassis |
 |
| The first release Tamiya Lunch Box 58347 1987 |
 |
| First release lunchbox 1987 58347 |
 |
| Rerelease Tamiya lunch box 58347 2005. Already download pdf file, will print a copy. Not same some of the assembly mated. But i got the PDF manual for Midnight pumpkin 1987 same chassis and parts, different body. |
 |
| 2012 Special limited black Edition lunchbox TAM58546 |
 |
| Found the pdf file1987. download and photocopy |
 |
| The assembly mated |
 |
| Now eazy for me |
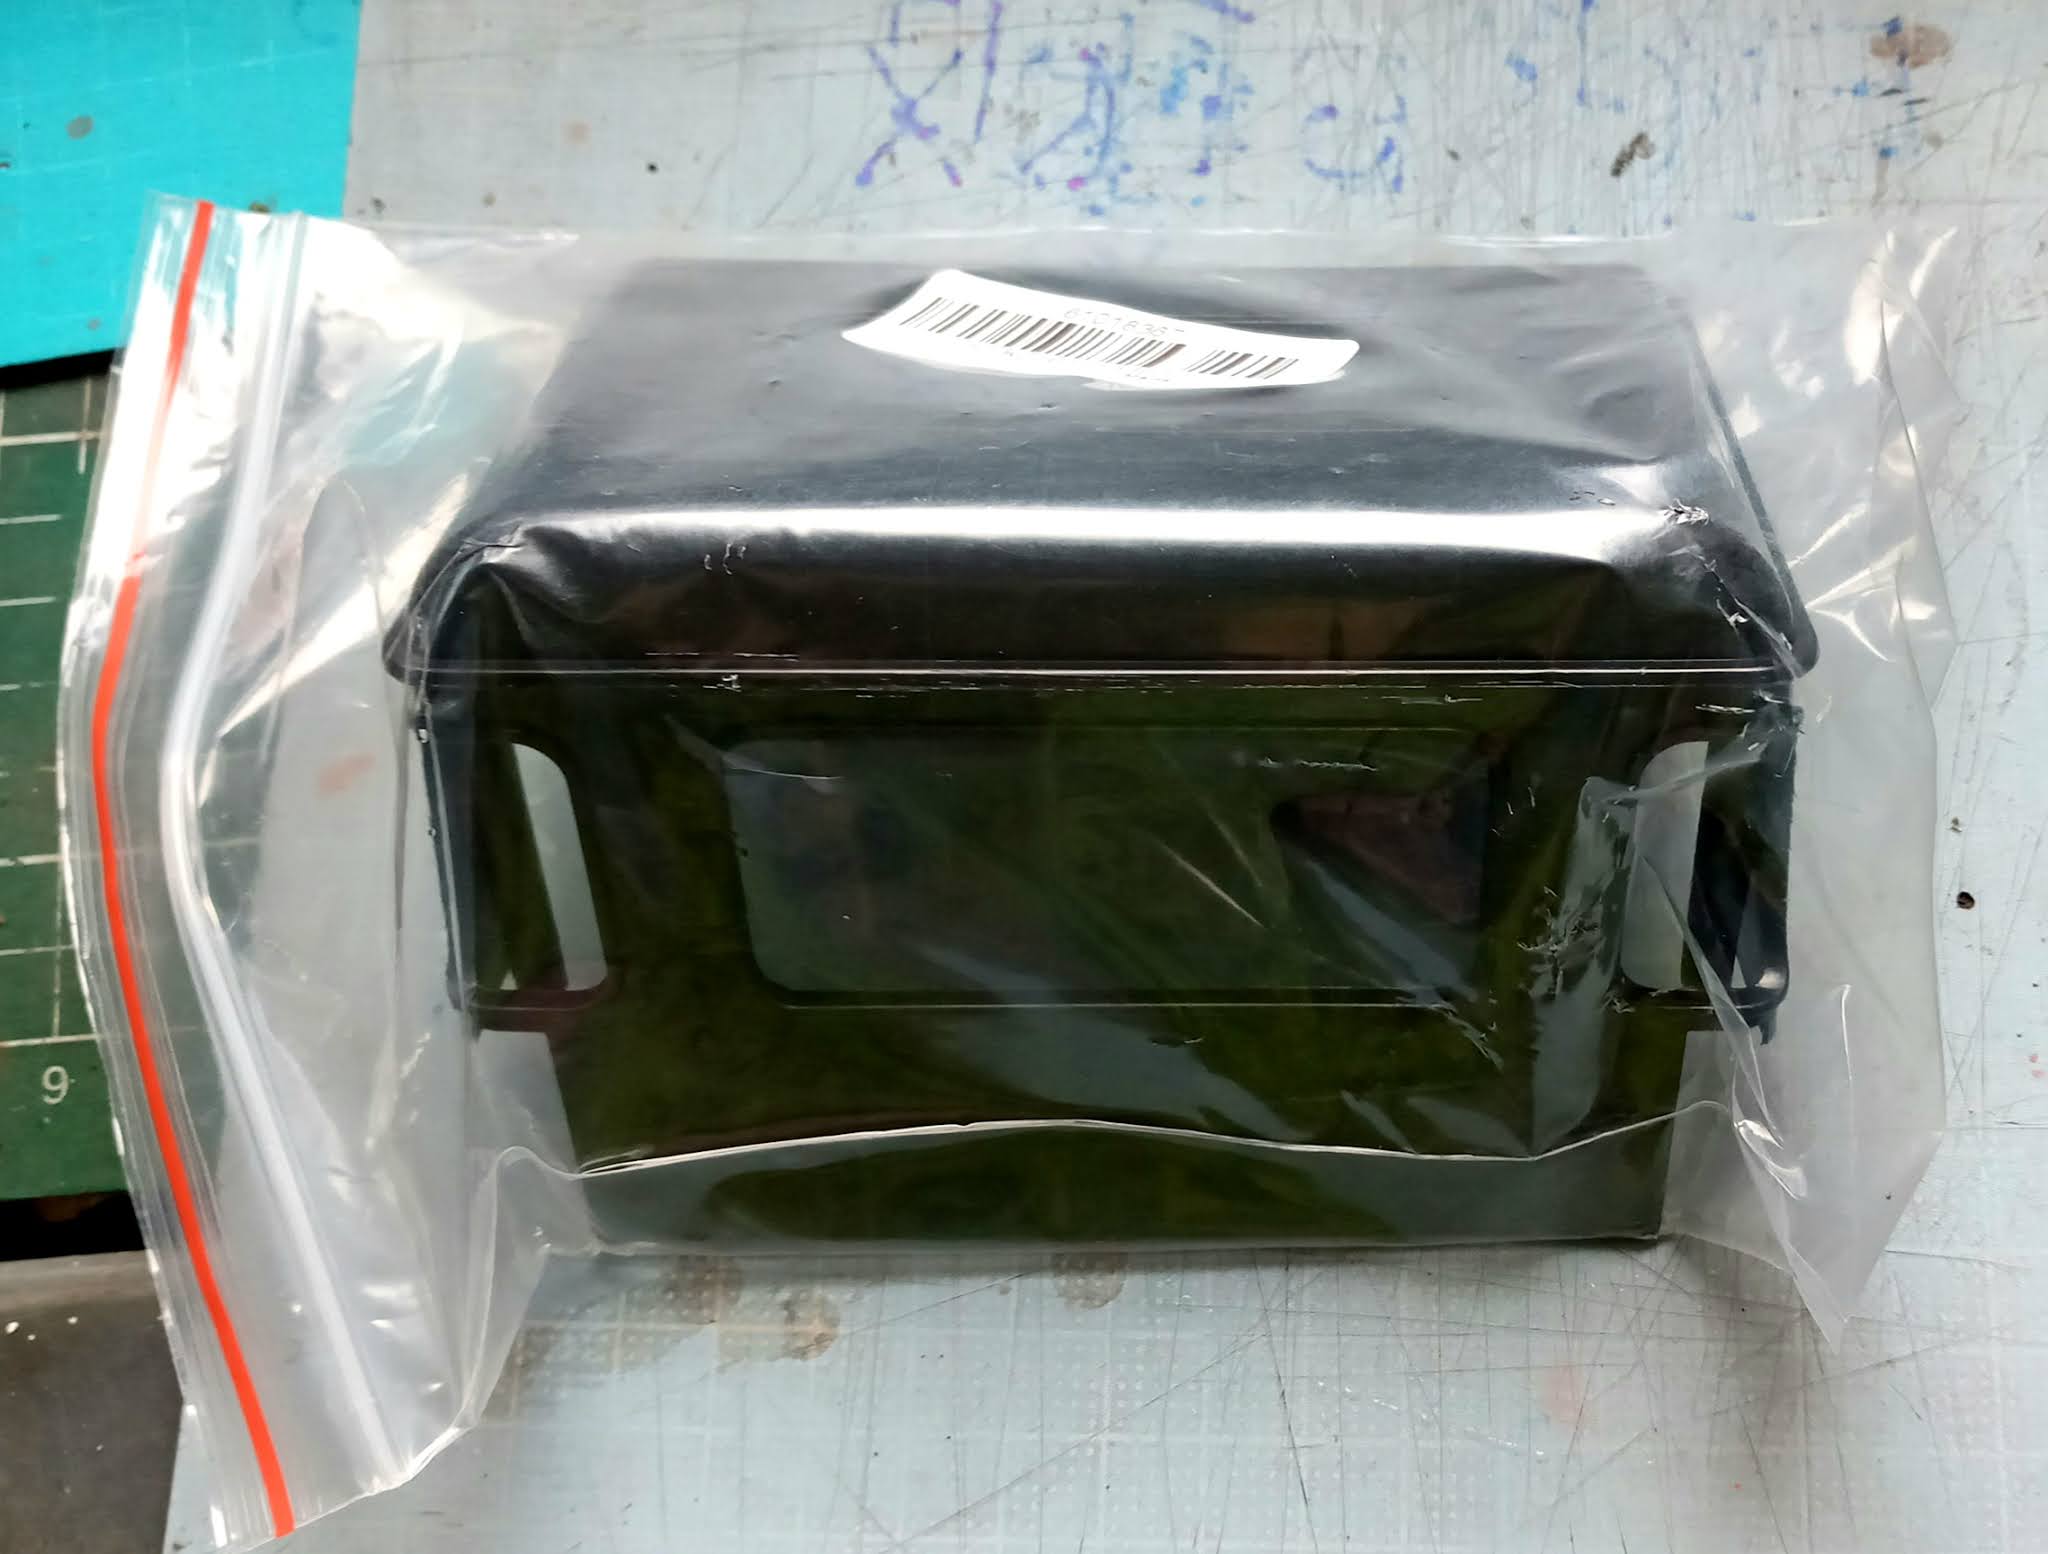
Below picture is when i receive in a box and photo in my home work shop.
 |
| In the box, top view just kit no electrical, i request to remove. Is an old version. |
 |
| With a damage servo horn |
 |
| With damage damper spring bottom mounting seat lhs and rhs |
 |
| With a Willy bar, rear damper still good |
 |
| Rear tyre still ok but due to long storage whare preasure on the tyre become dent. No sponge inside. |
 |
| Other side Crack side wall and dent |
 |
| The rim tighten with nylon lock nut, and unevent colour spray red, white ori yellow. |
 |
| With a brush motor unknown brand ori is 540 |
 |
| Rear view |
 |
| Strange additional bar tighten with wire and cable strip |
 |
| Top no electrical part, with 4 body post |
Reaching home, this time i take my sweet time to investigated the fault and slowly removing part.
 |
| Side view still look nice but damage tyres |
 |
| From top view, empty chassis |
 |
| Side view center is the battery location |
 |
| Other side missing battery holder bar |
 |
| A addition plastic bar tighten to the original bar with wire and cable strip. |
 |
| Damaged front tyre |
 |
| Rear with damage tyre. The rear two damper non oil type |
 |
| A small willy aluminium bar with a small plastic wheel. |
 |
| Side view |
 |
| With a brush motor, not sure what brand yet. The original motor should be mabuchi 540. But it change to batter motor |
 |
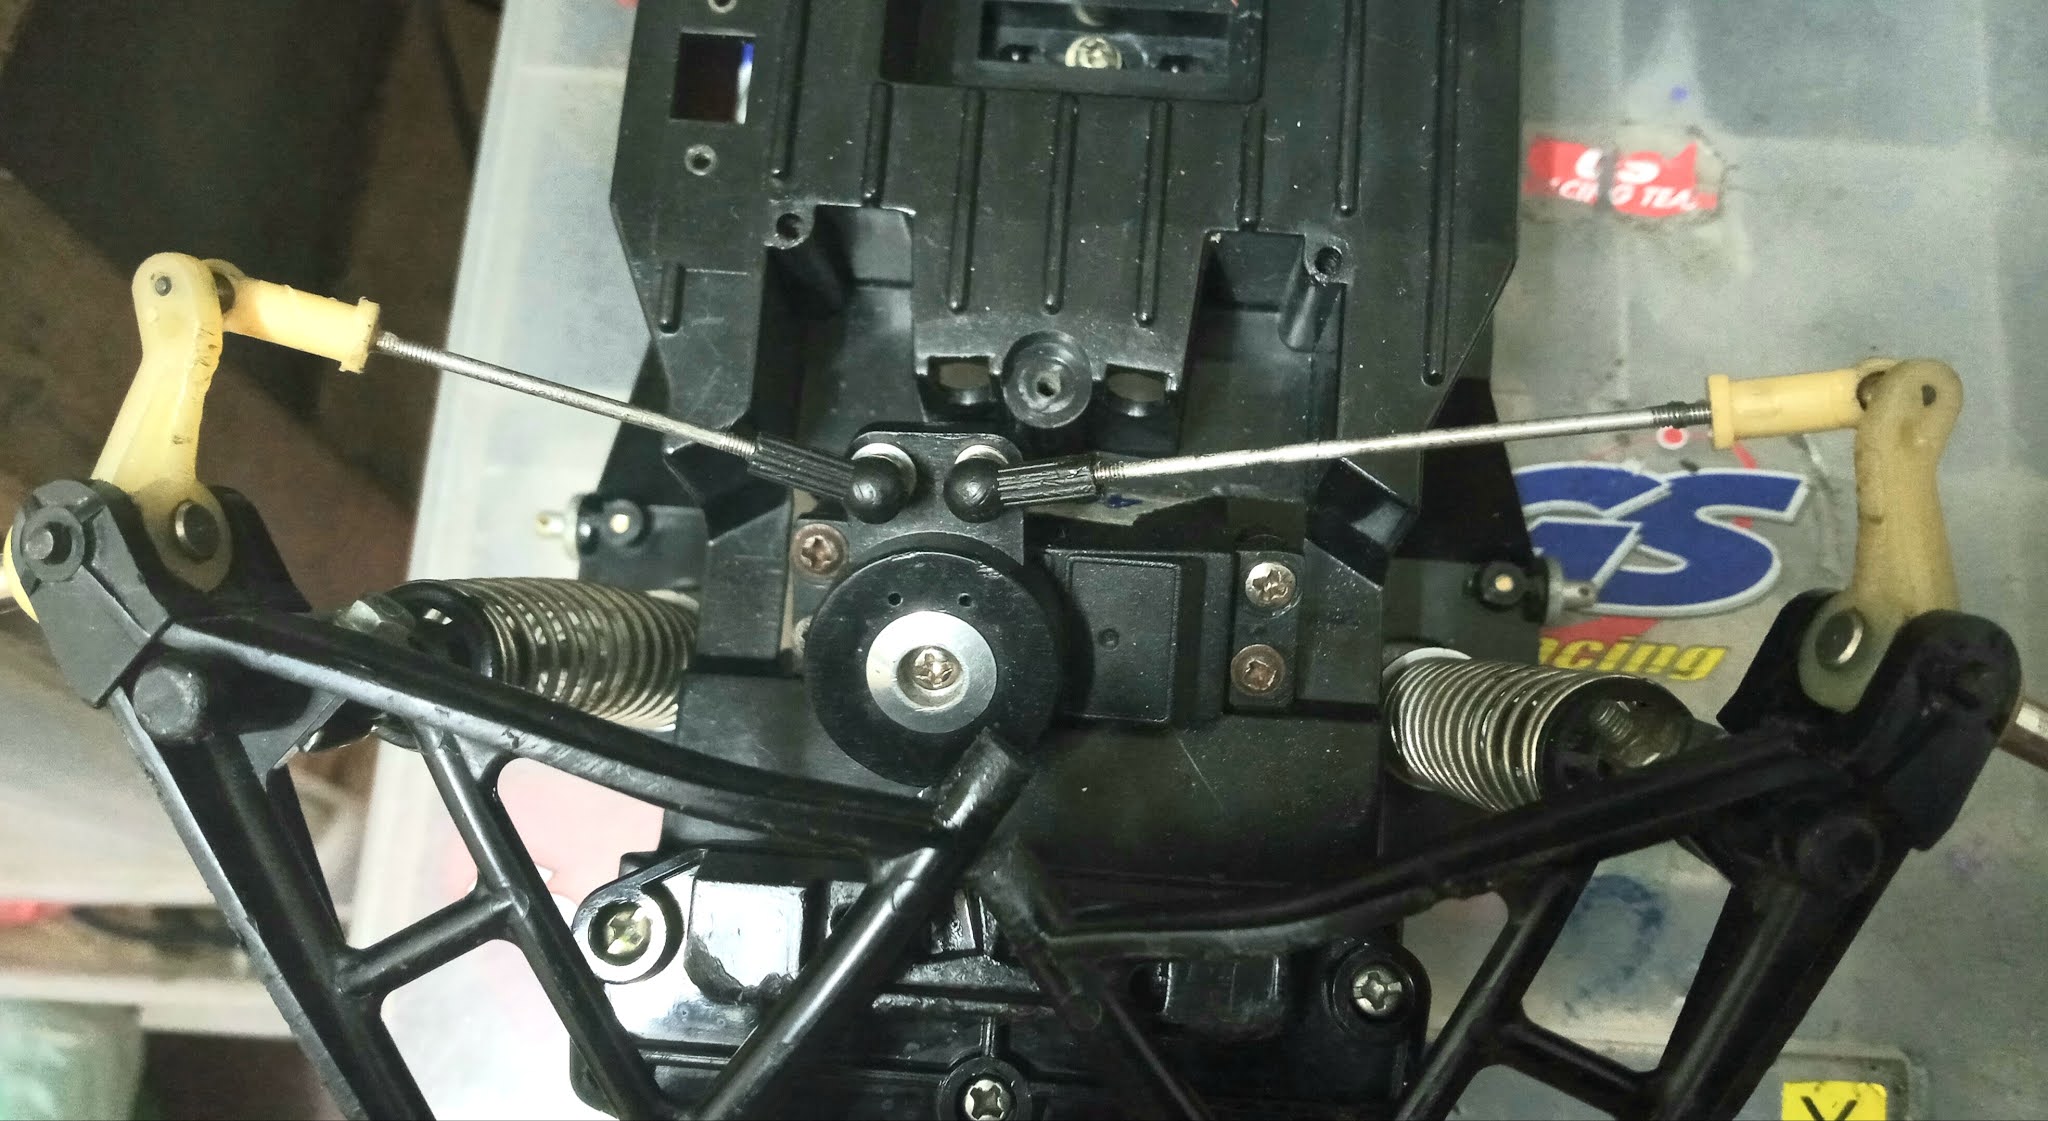
| Center compartment, Two strange bar at the steering servo seat will investigated |
 |
| Top view, the 4 body post still attach and all the shock stay no damage or crack. |
 |
| Bottom view can see some missing screw |
 |
| Front suspension arm, holding by the triangle suspension arm but missing screw. |
 |
| Rear axle case scratch and chip off |
 |
| Missing 3 screw for battery bracket |
 |
| Rear axle RWD single speed. |
 |
| Front bumper with additional plastic bar. Top tighten with cable strip bottom with wire over spray |
 |
| Center bottom compartment is battery location |
 |
| Steering servo seat tighten on this two plastic bar wrong location. |
 |
| Rear section for attachment of ceramic speed control by tamiya |
 |
| The on/off switch location |
 |
| All 4 rim tighten with nylon lock nut |
Dismantle parts time. Slowly investigated the fault or problem found.
 |
| Remove the rim found out no ball bearing, using plastic bushing |
 |
| The bushing fix on the rim inside and outside front wheels |
 |
| For rear there a hex bracket |
 |
| Old tamiya wheels hex |
 |
| The wheels hex sit on the rim. With 5 hole. Need to check owner manuals is it this wheels hex tighten on it. |
 |
| Same rear axle end no ball bearing, plastic bushing |
 |
| Two front tyre with this problem crack. Too long storage under sun or dry area. |
 |
| All tyres remove yellow rim. But outside spray white and red. |
 |
| Tyre total damage will repair, not going to buy new. New around Rm200++ |
 |
| Un event paint spraying. Will remove the paint. |
 |
| Front rhs rim crack superglue |
 |
| Super glue to the tyre when i remove realy slow but end up crack on tyre wall |
 |
| Tyre wall crack |
 |
| All the tyre i spray with orian traction juice. It to soften the rubber before race more grip. But in this 4 pcs tyre i spay in and out just to soften a little bit. Inside i add sponge to push the dent up, will let it for few days. |
 |
| The tyre tread harden eazy crack. Total rubber dry up |
 |
| Front bumper missing one screw rhs |
 |
| After removing the screw set damage |
 |
| Remove the extra parts |
 |
| After checking this is a plastic bracket that holding a parts. I am not using it. |
 |
| Will not fix it |
 |
| The vintage RC with Rc Pajero mark on bumper. Rerelease no mark. |
 |
| All damper remove. Not a oil damper. |
 |
| The spring bottom seat 2pcs total damage from front, another to the plastic worn off. |
 |
| Reglue can't stand the impack |
 |
| Damper body is a crome spray. |
 |
| Front steering knuckle and using adjustable linkages very thin rod |
 |
| Steering knuckle pin dry no greese |
 |
| For the batteries seat, a pcs of bracket broken rhs and the battery stoper bar missing . It a stoper bar after insert battery. Need to modified . |
 |
| Another side also crack when i remove the cover |
 |
| Dirty with dust |
 |
| The front suspension arm no broken |
 |
| The arm |
 |
| Rear axle holder bracket crack. I remove the screw then pull out the bracket it break. |
 |
| From side both damage |
 |
| Thinking how to repaire it. The spring also brake, it for rebond the axle. |
 |
| The spring both broken |
 |
| The axle case single speed |
 |
| Side view motor mounting |
 |
| Another side whare the motor is. |
 |
| Deep scratch |
 |
| Dirty with sand |
 |
| In side with big gear no damage |
 |
| Maint gear and motor gear T66 |
 |
| Using copper brushing |
 |
| T66 drive gear |
 |
| Drive gear |
 |
| Using plastic brushing |
 |
| The 2 rear drive shaft |
 |
| The plastic gear |
 |
| Willy bar missing screw |
 |
| A aluminium frame |
 |
| All parts remove |
 |
| The chassis |
 |
| Bottom view |
 |
| Side view |
 |
| Vintage chassis with this mark. |
 |
| 1987 Tamiya. Made in Japan. Rerelease no marking made in japan. |
.
|
| Motor from kyosho Mega Formula brush motor |
.
 |
| Formula one racing car from kyosho |
 |
| The bruch slot. Japan kyosho |
 |
| One side brush carbon still ok |
 |
| Another one carbon brush near to half and thare a notch on the wire |
 |
| Is a broken wire. Just twist together. can sholder together |
 |
| With a motor pinion gear worn off shapt teeth |
 |
| Sharp edge 24 teeth |
 |
| Top cover sand |
 |
| The side two edge lock not fully in. Kyosho Japan |
 |
| Not using ball bearing, copper bushing |
 |
| Both end copper bushing |
 |
| The rotor |
 |
| The rotor copper contact worn off. Still can use need repolish |
 |
| All motor parts remove |
.
 |
| The 4 body post in good condition |
 |
| For the 2 extra bracket at steering servo is a wrong position. That mean servo positon stright not slont. |
 |
| The original positon slon. There 2 bracket on each side of servo. |
 |
| Done all parts remove before washing |
Next after cleaning and rework on parts
 |
| All parts been clean by soap and metal parts with WD40 |
 |
| Tyre all clean, more traction juice on rubber surface, in and out will see what the results. |
 |
| All clean, lhs all the gear greese remove. Second motor all clean with WD40, third damper wash, fourth screw clean with WD40. |
The first rework is the 4 tyre and wheels. Firstly remove the red and white paint then reglue tyre.
 |
| All extra paint remove only some left at bottom |
The trial done. Inside tyre wall i glue with dumlop glue, then i patch the wall with tube pad all round inside, next inside add thick sponge. Put on the wheel and tyre. Some outside or tread crack i will super glue.
 |
| The wheel with red and white paint i remove with thinner, inside still have later will remove it. The crack super glue it, need remove addition paint. |
 |
| Top no flaten surface, inside i put sponge |
 |
| The outside wall if crack, i use superglue it back. Not 100% at least look nice. |
 |
Rubber with crack super glue, it joint fast
|
 |
| The red and bkack |
 |
| Not 100% remove. But ok |
 |
| Made in Japan 1987 tamiya logo only have in Vintage lunchbox. Rerelease diffrent logo |
 |
| I buy this Dunlop CA glue for rubber surfaces |
 |
| Inside the tyre i fully paint this glue. When it dry become harden. |
 |
| Use the repair tube patch stick all tyre surface inside |
 |
| Including tyre wall |
 |
| I buy this tick dish sponge as base on the tyre |
 |
| Cut until tyre wall the hard sponge |
 |
| Use 3 pcs soft sponge |
 |
| Stuff all 3 pcs |
 |
| Done no more dent |
 |
| Event the tyre wall will come up. |
 |
| Put in the wheel no glue on tyre. |
 |
| Buy superglue to glue all the tyre crack |
 |
| Glue all thd crack |
 |
| Put superglue on crack surface then press down so the joint will glue to gather. Some hard rubber can't stick togather but the glue will ensure the rubber surface more tight. |
 |
| All the side trades i also attach glue |
 |
| Done .warning after done this tyre not strong to run fast, only light drive. Motor too power tyre can't anymore expand. This mated to save more money to buy new tyre if just for display. |
 |
| Done all repair but can't run in high speed. Most rubber harden. All 4 tyre i will spray the traction juice and didn't wipe off. |
Next is the rear axle assembly. All plastic bushing will change to ball bearing. Reapply all moving parts with fresh grease.
 |
| I attach a ball bearing on the drive gear, drive shaft ball bearing order new. |
 |
| From coper bushing change to ball bearing |
 |
| From plastic bushing to ball bearing |
 |
| All with bushing change to ball bearing m |
 |
| All regreese |
 |
| Using a 540 brush motor |
 |
| Motor from HSP |
 |
| The lhs 24T worn off, change to 25T. |
 |
| Found another fault, a hole with missing cover |
 |
| Close with aluminium sticker |
 |
| Fixed the willy bar |
 |
| Bottom view |
 |
| Add washer on the motor tighten screw. Before is a rubber. |
 |
| Inside the rod each end add greese. This rod is holding axle to chassis |
 |
| The rear wheel hub |
For this kyosho motor i not using it, it for next RC projeck. Total service found out both carbon brush wire break, i solder back. Tested still function this motor.
 |
| The amateur i polish back. |
 |
| Both wire break sholder back |
 |
| Still can be use |
 |
| Shrinks tube protect from short. |
 |
| The broken piece i superglue |
 |
| To make it stronger at the groove i add 2ton steel glue hope it can hold the break joint |
This how i up grade the Shock absorber front and rear
 |
| Original on the screw head no washer, long term it will damage the surface plastic. |
 |
| All screw head i put washer. |
 |
| Lhs front , rhs rear |
 |
| Change all the damper end holder and spring set. |
 |
| Missing metal plate for shock absorber seat rear |
 |
| Need to put a Bigger ball end direct tighten to body |
 |
| Attachment the rear damper |
 |
| For front damper a ball end on the arm. |
 |
| Then use screw nut tighten on the seat |
 |
| Example before assembly |
 |
| Side view |
 |
| Reposition back to original assembly from inside view |
 |
| From bottom view |
 |
| Use a big servo horn from kyosho more stronger |
 |
| Steering arm |
 |
| Respray the damper casing crome |
 |
| Rear look nice. |
 |
| Front |
 |
| The body post respray crome |
 |
| Fix in already order a 1/12 crawler Land Rover 90 body yellow Rm57 from china |
 |
| The rear damper seat plate missing, when fix the damper on axle look too narrow so i use a long screw whare one side tighten to the axle case and the ball end at other end . Now damper look stright not in v shape. |
 |
| For the battery holder bar broken pcs i modified a pcs of aluminium plate, then super glue and ton hard glue |
 |
| The plate with a hoke and side apply 2 ton glue |
 |
| After dry up i use a hard plastic pipe bend it ighten .later will be respray black. |
 |
| Both parts spray with rubber paint black |
 |
| Done the bar that can open /close |
 |
| Steering axle bushing change to ball bearing. |
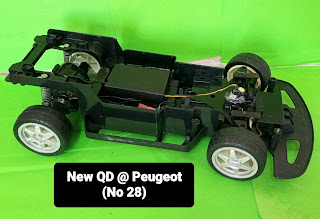
Done all function, can move around the last thing is the body need to wait after Chinese new year.
 |
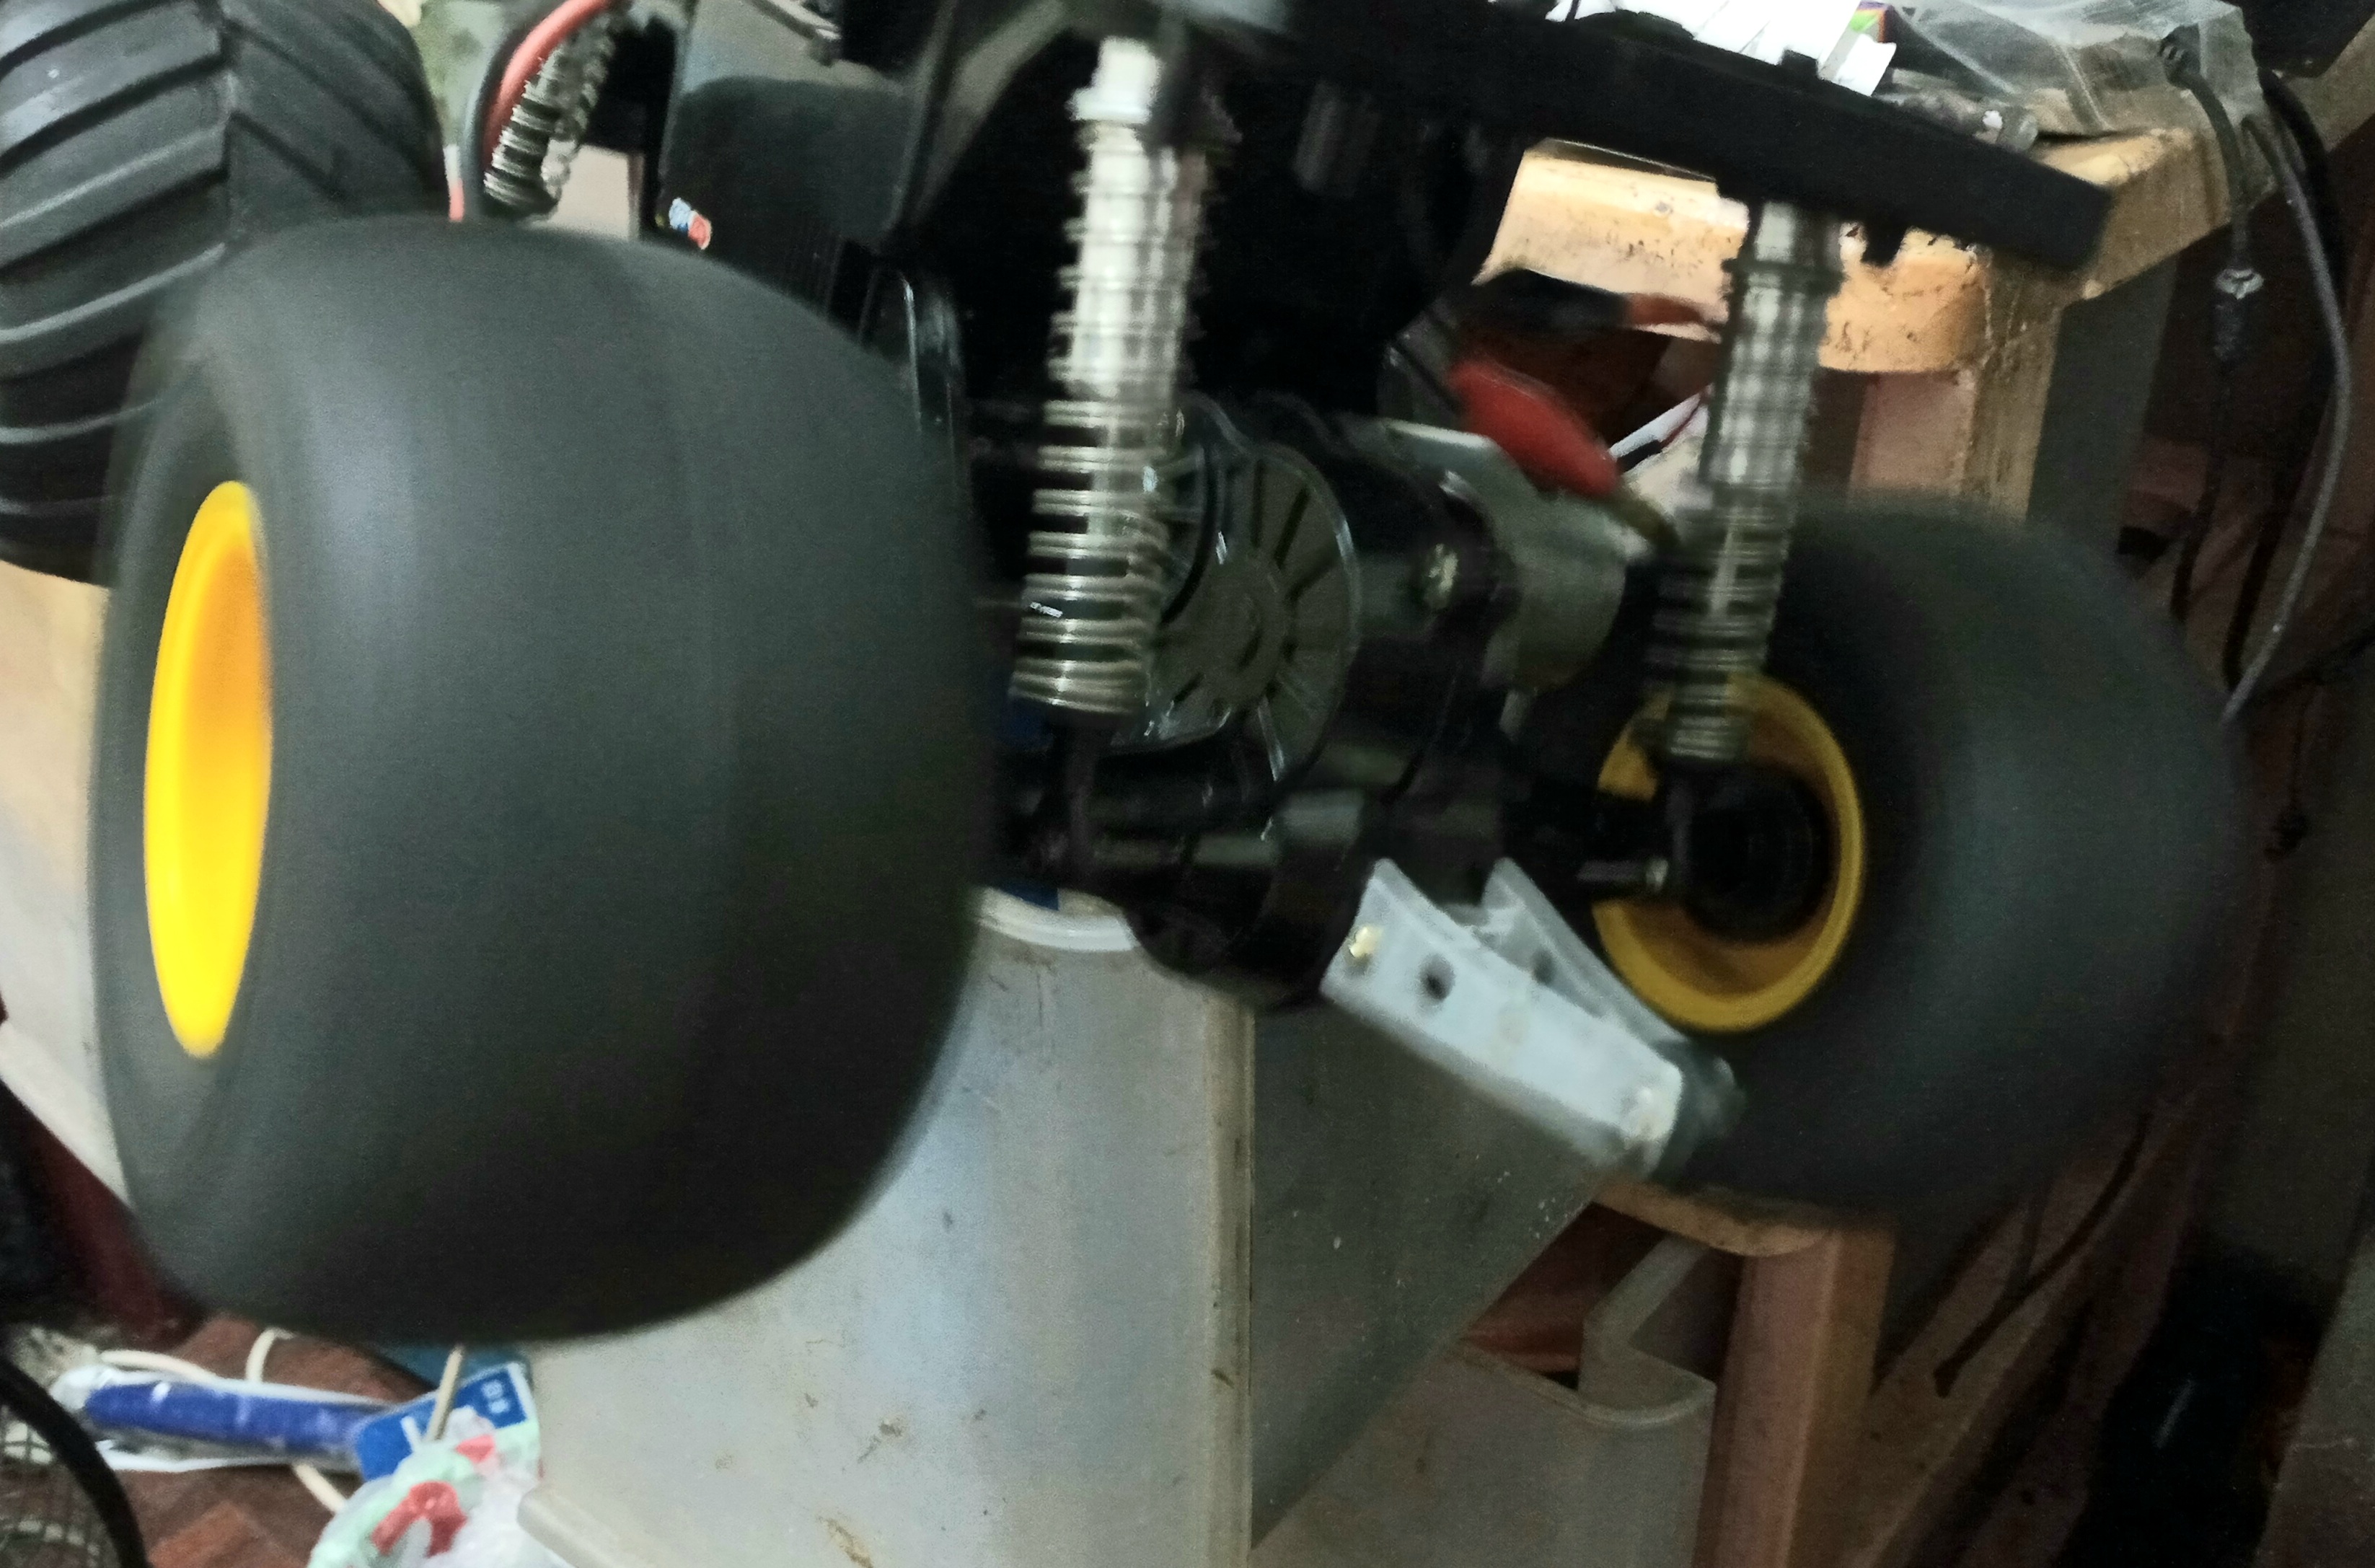
| The axle run more smooth after service and change to ball bearing. |
 |
| Front view |
 |
| Rear view |
Finally the 1/12 Land Rover 90 pickup body i got on 17/2/2021 from china Rm58. Orange colour, the best thing is the bonnet can open and can buy accessory to make it nice. From saler i saw is yellow but is orange colour i get, photo colour variants. Will spray yellow colour.
 |
| Not fitted the side mirrow, door handle and other parts yet. |
 |
Can add lighting
|
Next try on chassis, need to find the correct mounting position. The original position not fit.
Idear come how to mount this body on chassis
 |
| Attach two long hex screw on a mounting and glue it |
 |
| Front i screw a hanger bracket on the body |
 |
| Centerice it |
 |
| At the front body center location, i cut off few centimetres plastic to make a slot. |
 |
| The aluminium clip will at the center slot, inside i will bend the clip. |
 |
| The clip will hold the front body. Will bend the clip inside. |
 |
| For rear after the hex screw glue dry up. Slot in to the hole that i drill on the body chassis. Will use nut to tighten. |
 |
| Done, this body chassis will screw on the body frame first before i tighten at back. |
 |
| Attach the body on body chassis |
 |
| Side view |
 |
| The receiver wire will pull out at rhs, a plastick tube will add. |
 |
| The spare tyre/rim. |
 |
| Add sponge inside. |
At last 22/2/2021 the make over and repair done. Tamiya Lunchbox from Dodge van body to Land Rover Defender 90. Yellow colour. The accessory will add time to time.
 |
| All the trim attach |
 |
| The receiver wire i am not fix. |
19/3/2021 i do some spraying to front grilled crome and rear spare rim to yellow. Buy sticker for Rm21 original Camel Trophy sticker. China sticker Camel Trobhy is cheap but not nice.
 |
| The lunchbox dodge van front is crome. So same to my Land Rover |
 |
| Side view |
 |
| Rear view, rim yellow |
 |
| Top view |
Next slowly buy accessories for this land rover to make it nice.
29/5/2021 order the roof cover for 3 weeks finally got it. Need to respray and DIY rear window.
 |
| No window glass. already ask some of the saler, just empty roof. |
 |
| Will sprayer body yellow roof black. |
To make the glass window, i use thick plastik from some toys box. The window body i will make a passage all round so the plastic window glass can sit inside and will glue.
 |
| Spray same colour, glass use thick plastic |
 |
| The glass will glue from inside, the frame will black |
 |
| Inside |
 |
| The two side glass done, add some sticker |
 |
| Roof i spray rubber base black |
.
2/7/2021 i add some tools set, buy for Rm12.
 |
| Green colour set |
 |
| The axe i put behind seat |
 |
| Other 2 tools behind |
 |
| Jerry can beside rhs the top light is signal light. |
 |
| Jack at side |
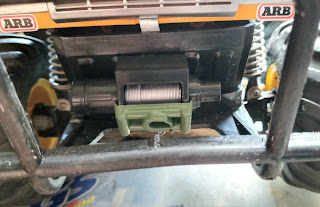 |
| Dummy winch |
 |
| From top |
Every few month i will take out and the hard rubber tyre i will spray traction oil to soften the rubber. End resault on 29/3/2023 i found the rubber getting softer not 100% only outside surface. Will spray time to time
 |
| Front |
 |
| Rear |
Thanks reading my blogger, have fun in RC. ENJOY RC


Comments